What is included in the Jimmi' Jammer kit?
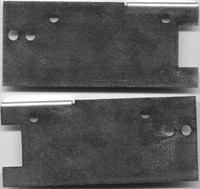
- Left and Right side plates
- Installation Instructions
- Mounting Hardware (bolts, washers)
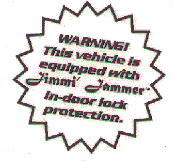
- 2 Window Warning Labels
How easy are they to install?
To have them installed at a body shop or automotive shop, Redline Technical Group, Inc. recommends about an hour for each door. (Check installation prices with shops before having them installed).
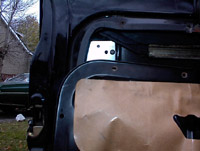
If you are mechanically included, installing the Jimmi' Jammer is fairly easy. The following installation instructions are from a members experience, and took about half an hour per door. Installation on a 1990 454SS is shown, left hand drivers door.
Step 1.
- Leave window up.
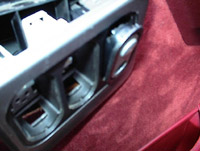
- Remove screw from armrest.
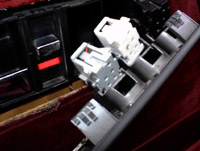
- Unsnap bezel from around door handle and lock/window switches.
- Remove lock/window switches by prying the front of the switch from the bezel.

Step 2.
- Remove the back of the switch by sliding it upward while depressing the tab at the bottom.
- Remove the screw from the front of the armrest, behind the bezel.
Step 3.
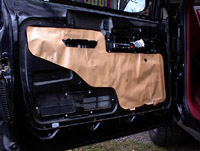
- Remove the door panel by prying the clips on the backside of the panel. (The clips should stay with the panel).
- Lift the panel upwards to remove.
Step 4.
- Remove the side and bottom screws of the inner door panel, leaving the top ones for last.
- As the top screws are removed from the inner door panel the metal panel may drop quickly if not installed properly the last time it was apart. Use caution, it may drop.
Step 5.
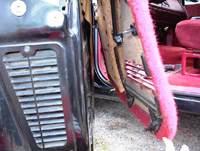
- If the inner door panel was previously installed properly, then lift the inner panel upward to unhook it from the bottom.
- Slowly ease the panel downwards moving the panel, window, and window track down about 6 inches. This leaves enough room to access the inside of the door handle.
- You shouldn't have to fully remove the inner door panel or disconnect the window regulator.
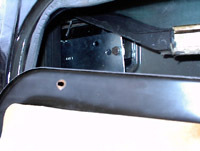
Step 6.
- Remove the right hand 10mm bolt from the inside of your door handle.
- Install the Jimmi' Jammer (they are marked left & right) in place using the spacers between the plate and door handle, using the bolt supplied and the lock washer.
- Make sure the Jimmi' Jammer is positioned over the door lock assembly, covering the lock rods.
- Do not over tighten the bolt as cracking of the door handle may occur.
- Before reassembling the door, check for proper operation of the door key to lock and unlock the door. Make sure there is no interference between the moving parts and the plate.
- Reassemble the door.
- Make sure that the inner door panel is fastened properly into place at the bottom of the door.